
Get Exclusive FIRST Access to:
New Product announcements
Ripper giveaways & promotions
Tips & tricks plus more...
Don’t Miss Out!
Become part of the RamFam and never miss out!
Error: Contact form not found.
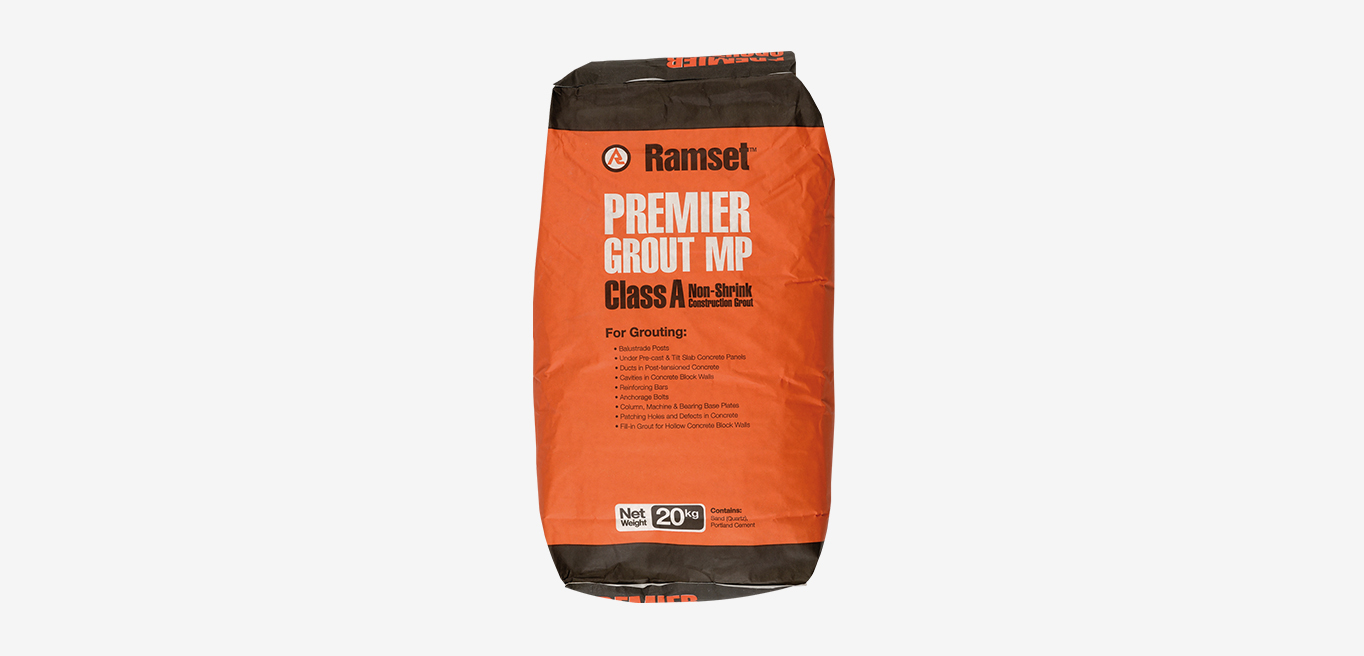
Premier Grout MP™
Ramset Premier Grout MP is a Class A, non shrink cement grout that complies with AS MP20, Part 3 (1977). The product consists of a speciality blend of cement, graded aggregate and other chemically reactive agents that compensate for drying shrinkage commonly found in cement products.
Pack Size
Before visiting a Stockist or Service Centre, contact them to ensure product availability.
PART NUMBER:

Contact Details

-+PRODUCT INFORMATION
Click on the column headings to reorder the table.
| ITEM CODE | Chemical Type | QTY | ADD TO TOOLBOX |
|---|---|---|---|
| RPGMP20 | Cement | 1 |

STEEL ZINC PLATED

STAINLESS STEEL

GALVANISED STEEL
The selected variations added in the toolbox. Please view the items in the toolbox.
-+FEATURES & BENEFITS
- High strength
- Non-shrink – Good dimensional stability – Complete void filling
- Versatile – Can be dry packed, rammed, troweled, poured and pumped over short distances
- Economical, low in-place cost
- Ready to use, pre mixed, requires only the addition of water
- Non-staining – chloride and iron free
- Lower water/cement ratio – Reduced drying shrinkage
-+APPLICATIONS & TRADES
| Baseplate Underpinning | Civil Contractor, Steel Fabricator, Maintenance Fitter |
|---|---|
| Filling voids under concrete panels | Construction Contractor, Concreter, Civil Contractor |
| Filling Grout Tubes | Construction Contractor, Concreter, Civil Contractor |
| Grouting Bridge Beam Supports | Construction Contractor, Civil Contractor |
| Installing handrails, balustrades & safety barriers | Construction Contractor, Civil Contractor, Balustrade Contractor, Steel Fabricator |


