Mechanical Anchoring
VIEW RANGE
Chemical Anchoring
VIEW RANGE


Consumables
VIEW RANGE
Construction Chemicals & Accessories
VIEW RANGE
Chemical Anchoring Accessories
VIEW RANGE
Tools Accessories
VIEW RANGE
Bracing
VIEW RANGE
Bolted Connections
VIEW RANGE

Error: Contact form not found.
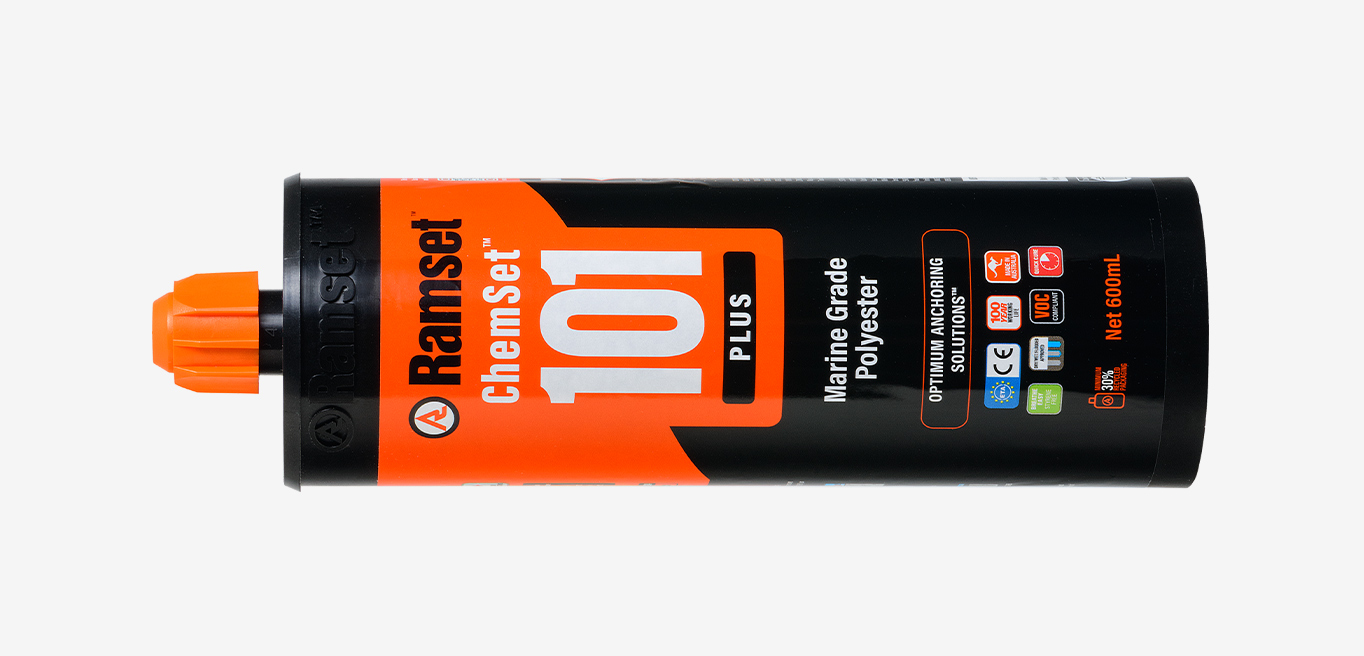
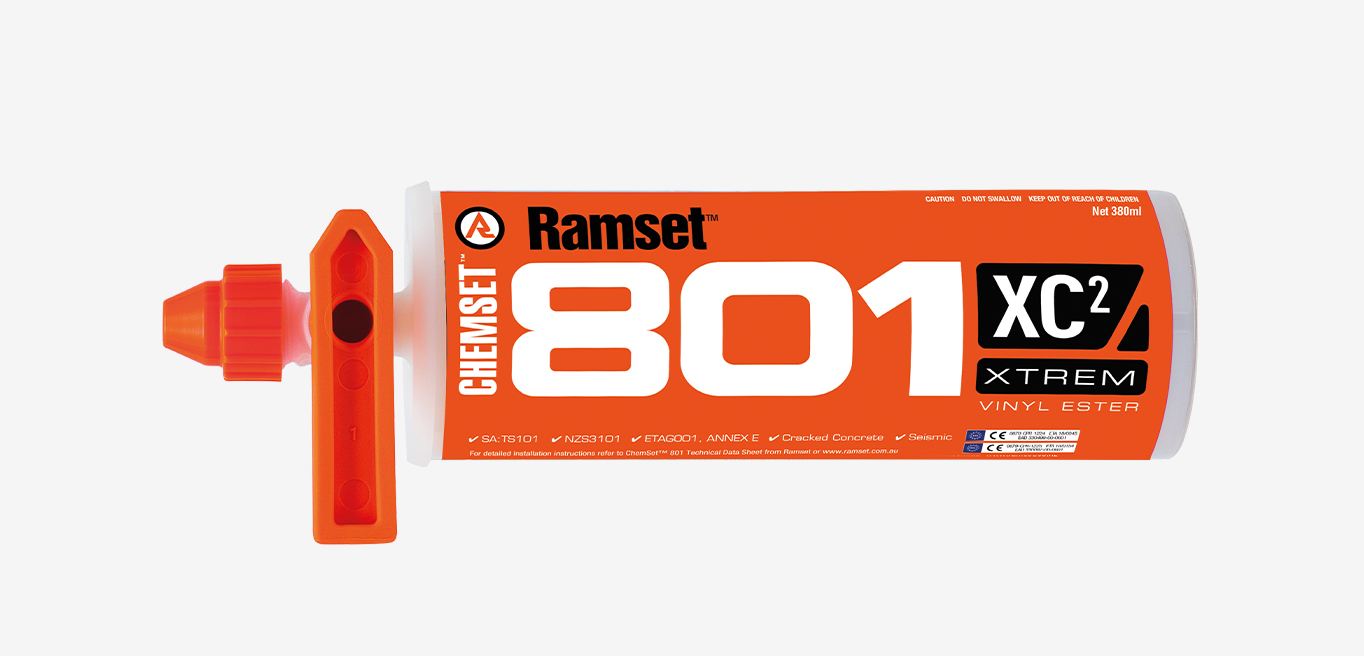
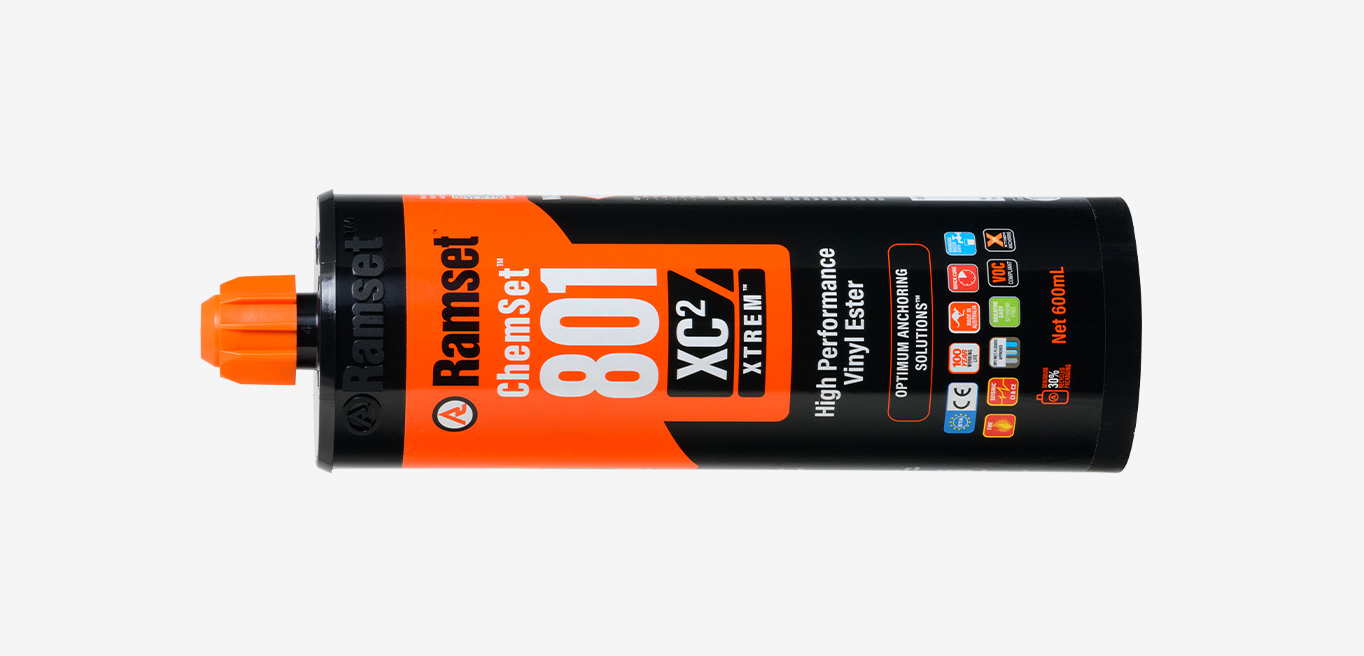
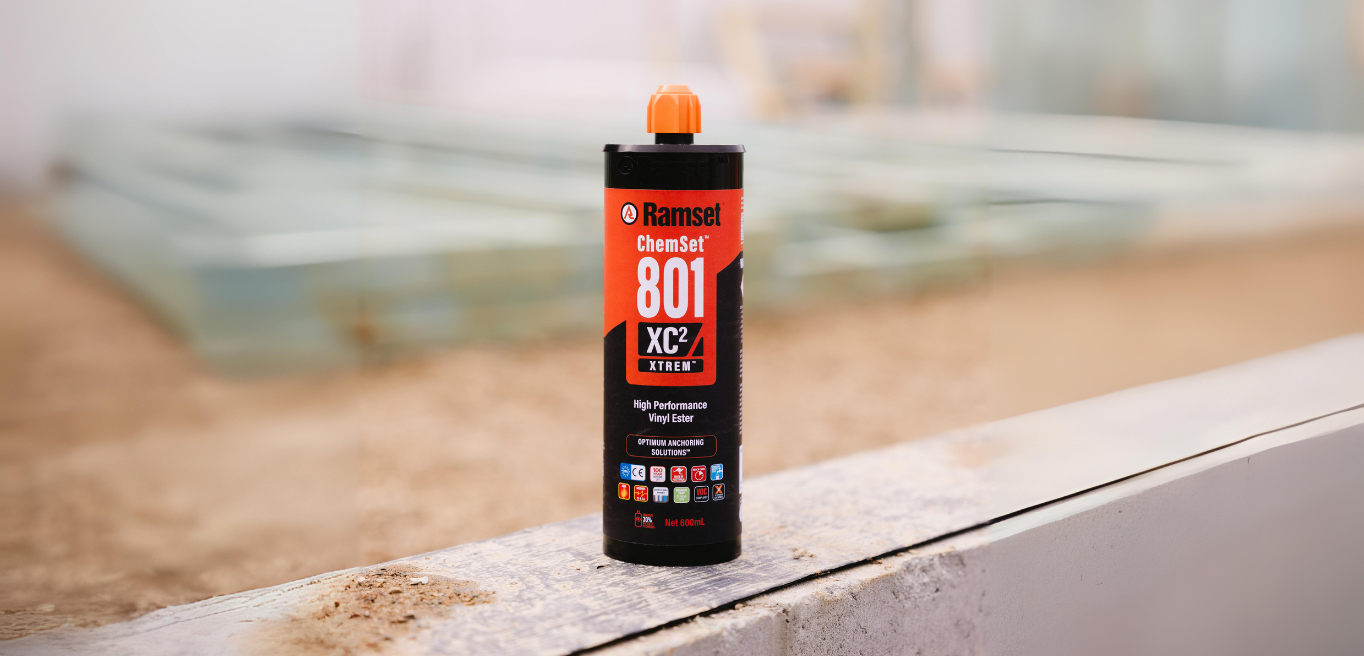
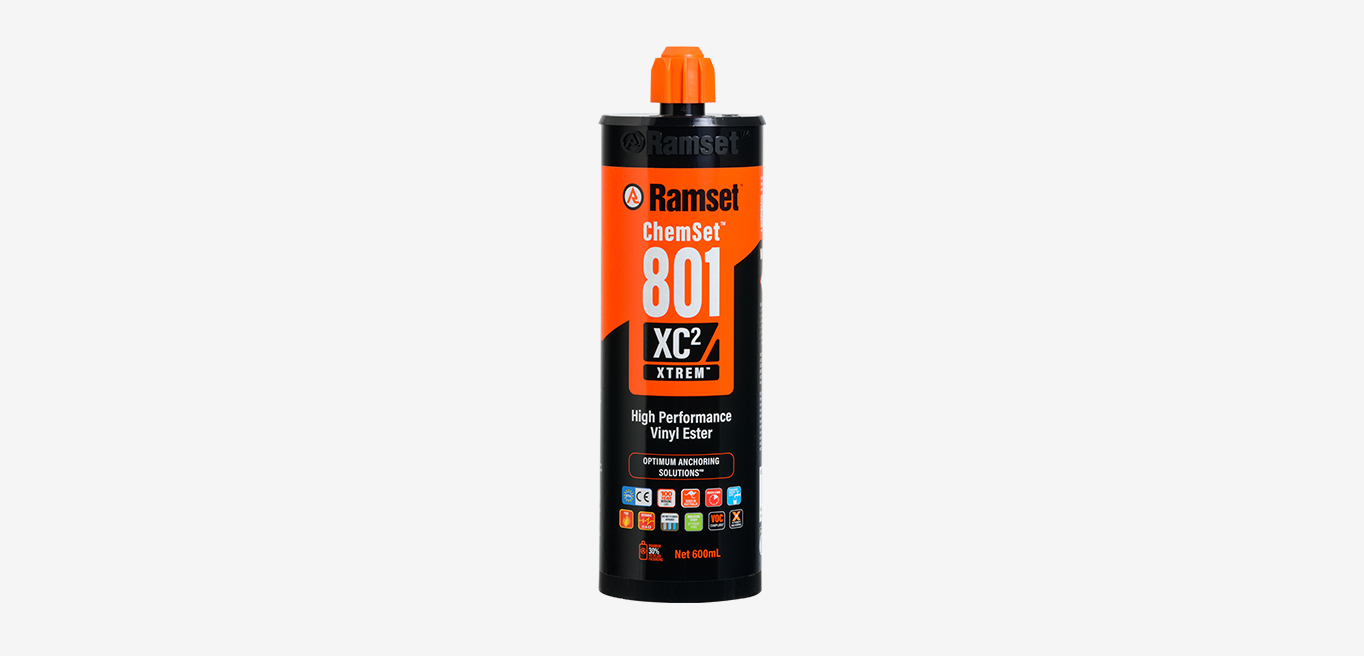
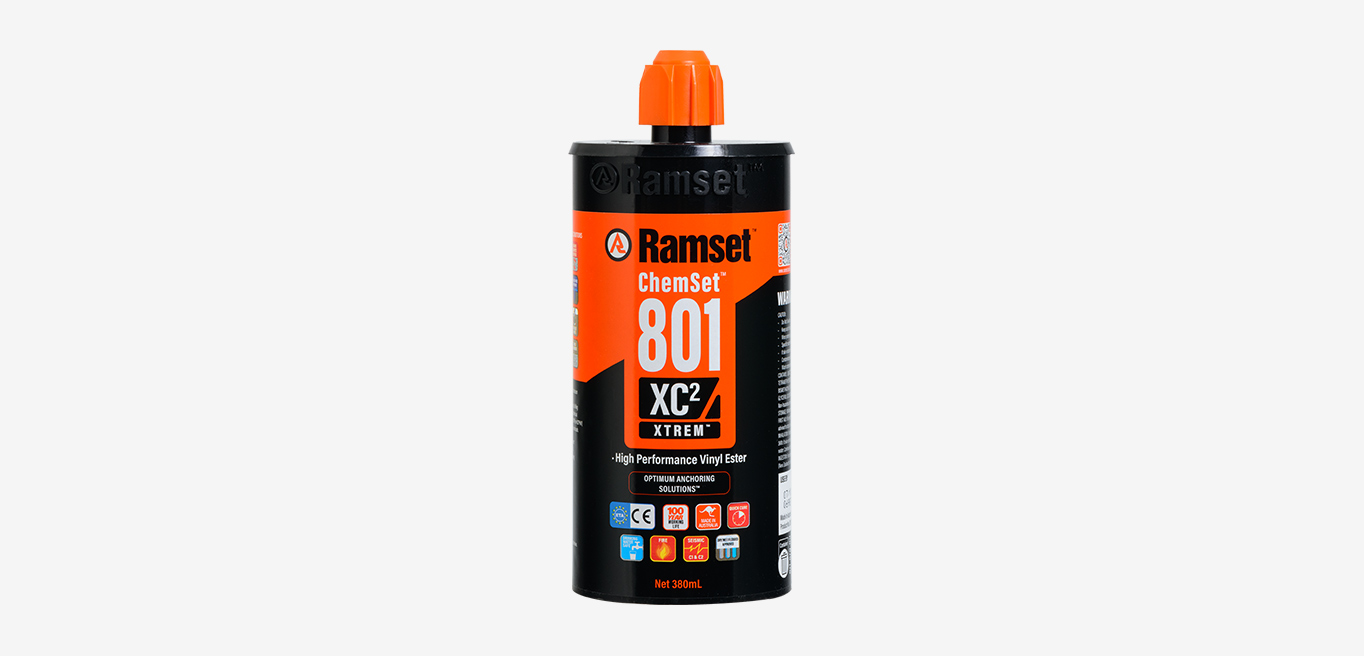
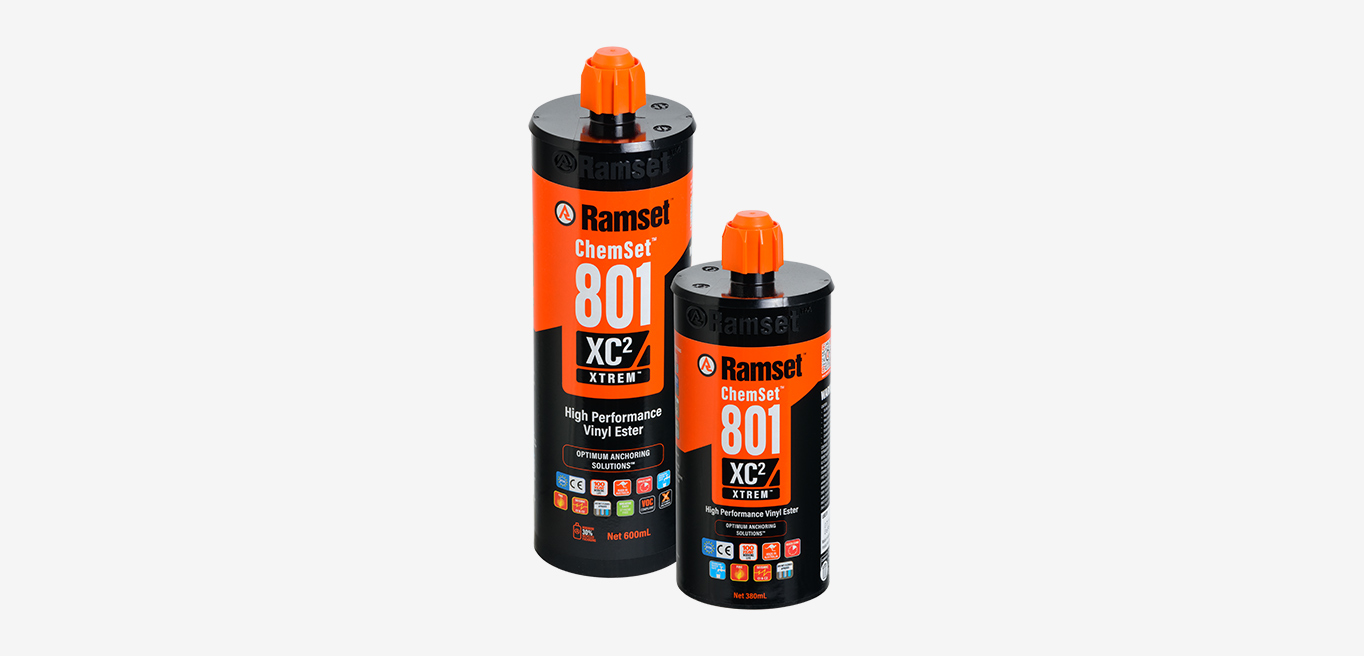
ChemSet™ 801 XTREM™ XC²
ChemSet 801 XTREM XC² is a fast setting Heavy Duty Vinyl Ester Adhesive. Its premium high strength formulation is certified for seismic, flooded conditions and fire rated. ChemSet 801 XTREM XC² meets the highest seismic standard (Category 2) when used to install the unique ChemSet Multicone Threaded Studs that compensate for cracks that open in concrete under seismic action. ChemSet 801 XTREM XC² is ideal for applications requiring fast assembly times such as structural steel, hand rails, balustrades, services, etc.

Pack Size
- 380ml Cartridge
- 600ml Cartridge
Before visiting a Stockist or Service Centre, contact them to ensure product availability.
PART NUMBER:

ChemSet™ 801 XTREM™ XC²


-+PRODUCT INFORMATION
Click on the column headings to reorder the table.
| ITEM CODE | Pack Size | Material Type | QTY | ADD TO TOOLBOX |
|---|---|---|---|---|
| C801X600 | 600ml Cartridge | Vinyl Ester | 16 | |
| C801X380 | 380ml Cartridge | Vinyl Ester | 12 |

STEEL ZINC PLATED

STAINLESS STEEL

GALVANISED STEEL
-+FEATURES & BENEFITS
- Heavy duty, fast setting Vinyl Ester
- Fully certified for challenging engineering designs such as seismic, cracked concrete applications
- Highest Standard of Anchoring Certification – Seismic C1 & C2 rated
- Complies with Cracked Concrete and Seismic Design
- Fast curing
- Fire rated
- Flooded hole installation
- Dustless drilling
- 100 Year working life
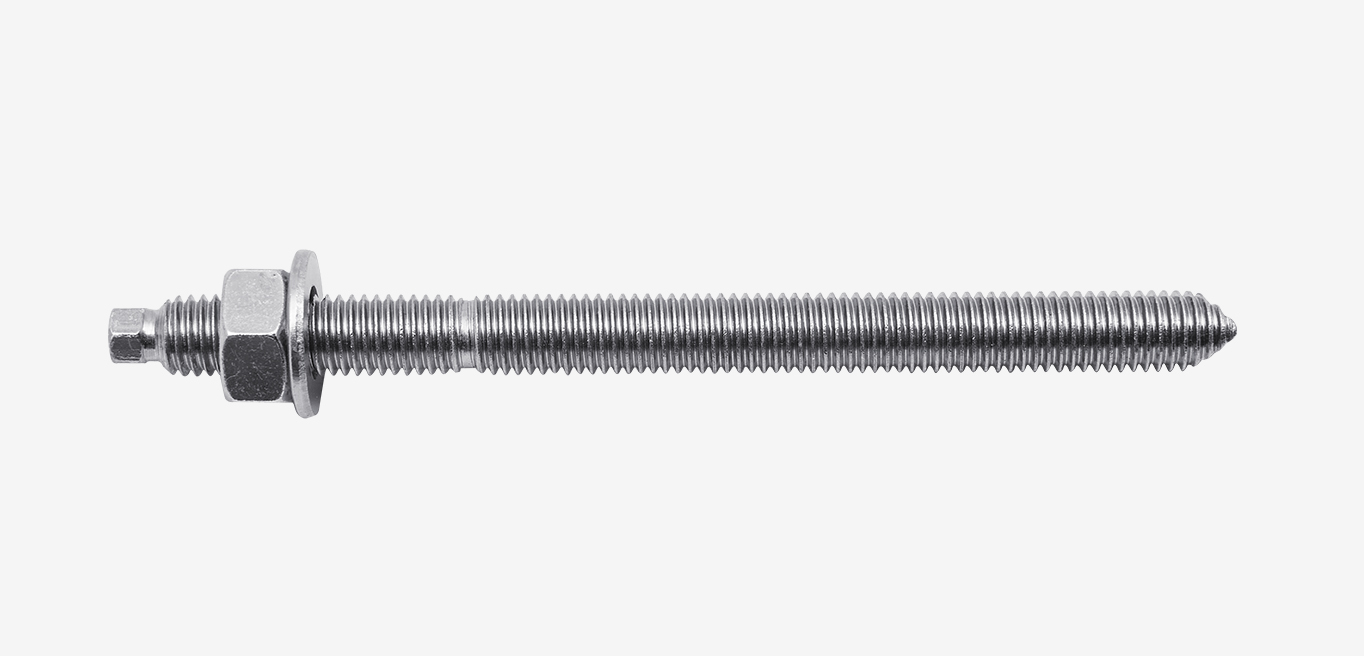
-+APPLICATIONS & TRADES
| Anchoring structural steel column/beams | Steel fabricator, Builder |
|---|---|
| Machinery hold down | Maintenance fitter |
| Starter Bars | Builder, Brick layer, Concreter, Formworker |
| Timber Frame Hold Down | Carpenter, Builder |
| Installing handrails, balustrades & safety barriers | Steel fabricator, Maintenance fitter, Fencing contractor, Balustrade contractor |
-+TECHNICAL DATA & DOCUMENTS
SPECIFIERS ANCHORING RESOURCE BOOK
CHEMSET™ 801 XTREM™ XC² FIRE RATED ANCHORING SYSTEMS
PDFCHEMSET™ 801 XTREM™ XC² INJECTION WITH ANCHOR STUDS
PDFCHEMSET™ 801 XTREM™ XC² INJECTION WITH REINFORCING BAR
PDFCHEMSET™ 801 XTREM™ XC² INJECTION WITH THREADED INSERTS
PDFCHEMSET™ 801 XTREM™ XC² SEISMIC REINFORCING BAR
PDFCHEMSET™ 801 XTREM™ XC² SEISMIC XTREM ANCHOR STUDS
PDFREO 502™ PLUS, CHEMSET™ 801 XTREM™ XC², EPCON™ C8 XTREM
PDFSAFETY DATA SHEETS (SDS)
CHEMSET 801 XTREM SDS
PDF